Verify Domain
Once your provider has confirmed that they have added the DNS record for your FQDN on the DNS server, you need to complete the verification process in the Microsoft 365 Admin center.
| ➢ | Do the following: |
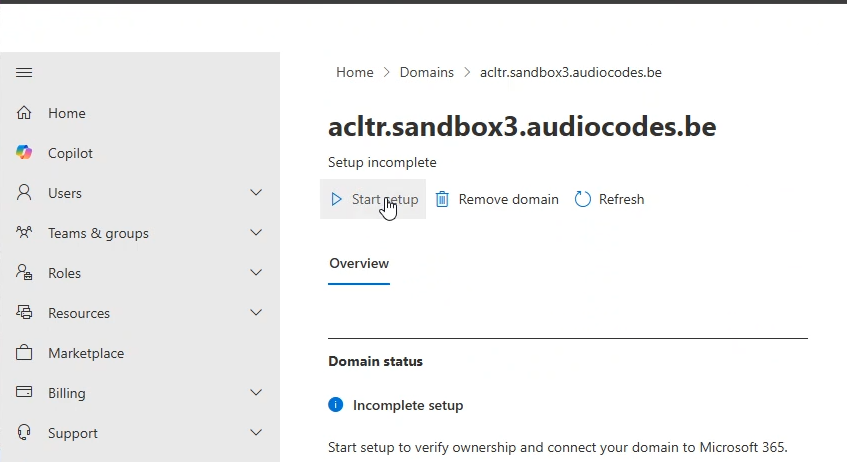
| 1. | Return to the Customer tenant Microsoft 365 admin center. In the Domains page, click Start setup. |
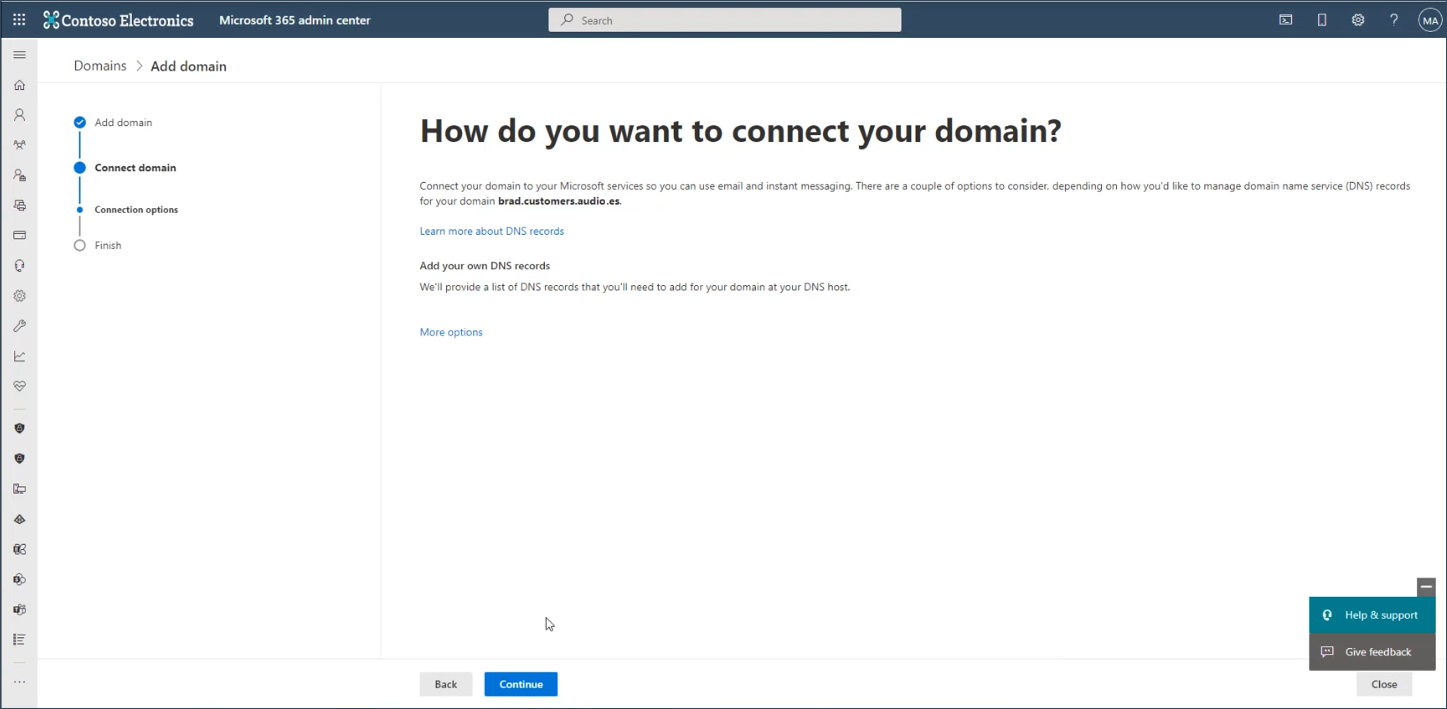
| 2. | Notice that the system has detected that the DNS hosting provider is on Azure. |
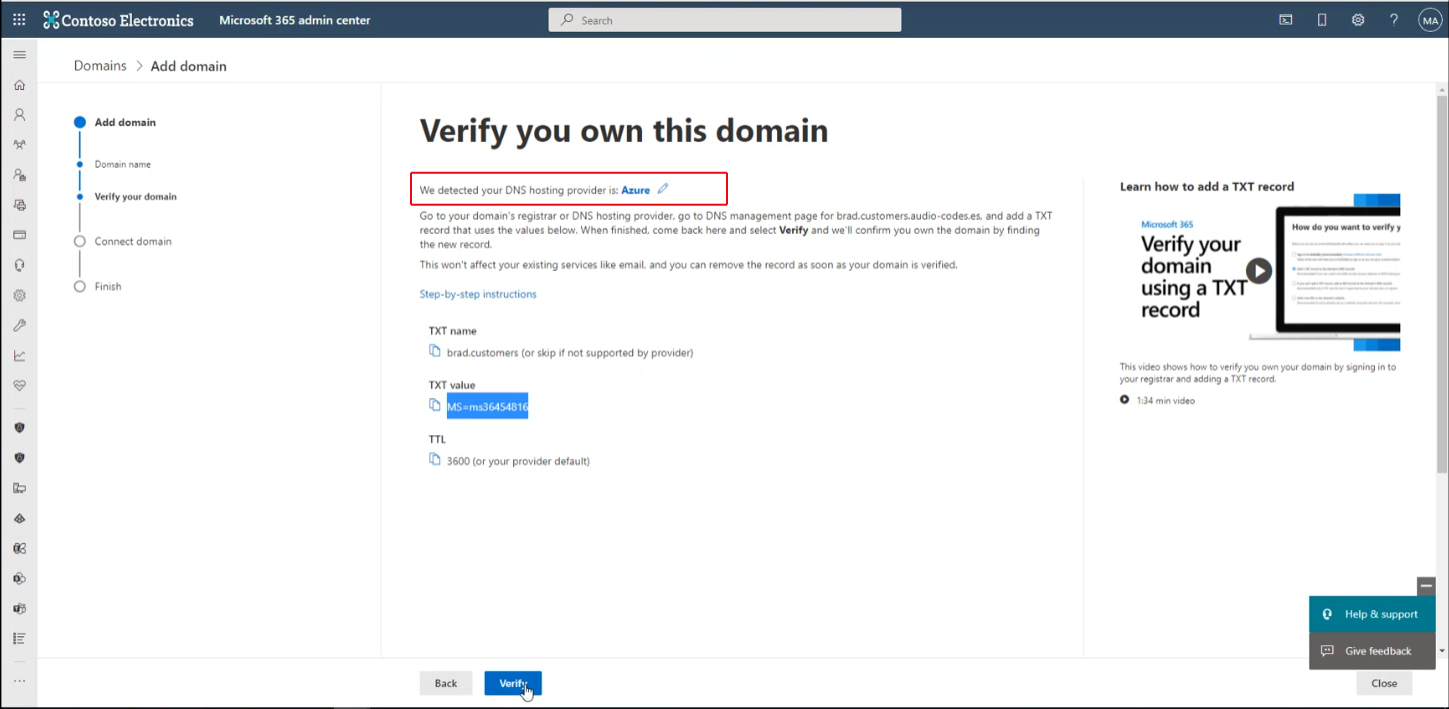
| 3. | Ensure that the TXT value that you copied in Step 6 in the same value and then click Verify; the customer’s domain i.e. the Service Provider Operator domain i.e. audio-codes.es is verified. |
| 4. | Click more options. |
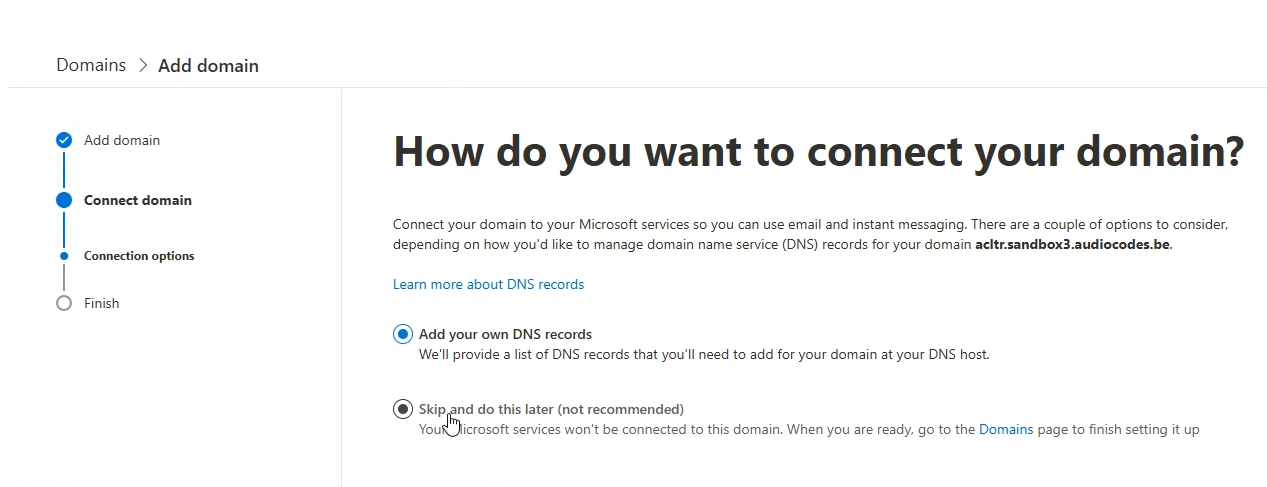
| 5. | Select option Skip and this later and then click Continue. |
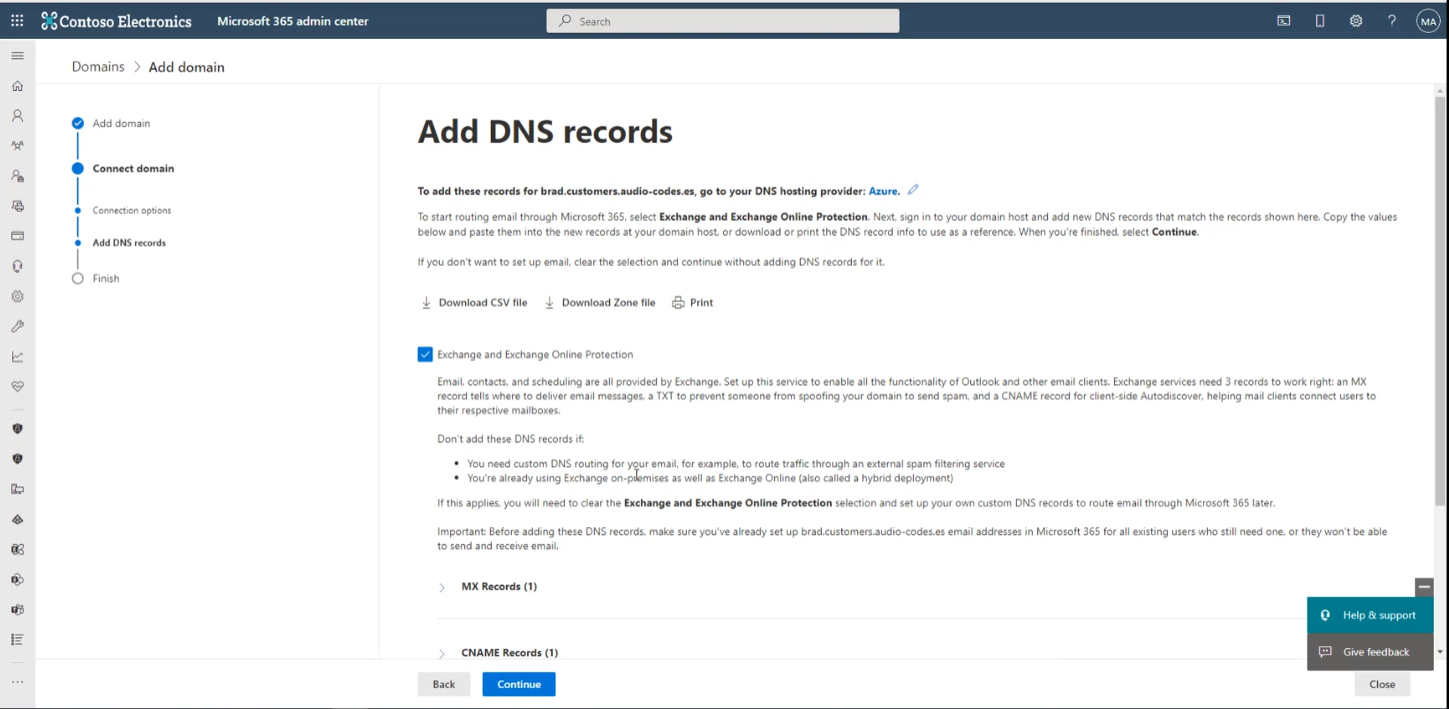
| 6. | Deselect the Exchange and Exchange Online Protection check box, and then click Continue. |
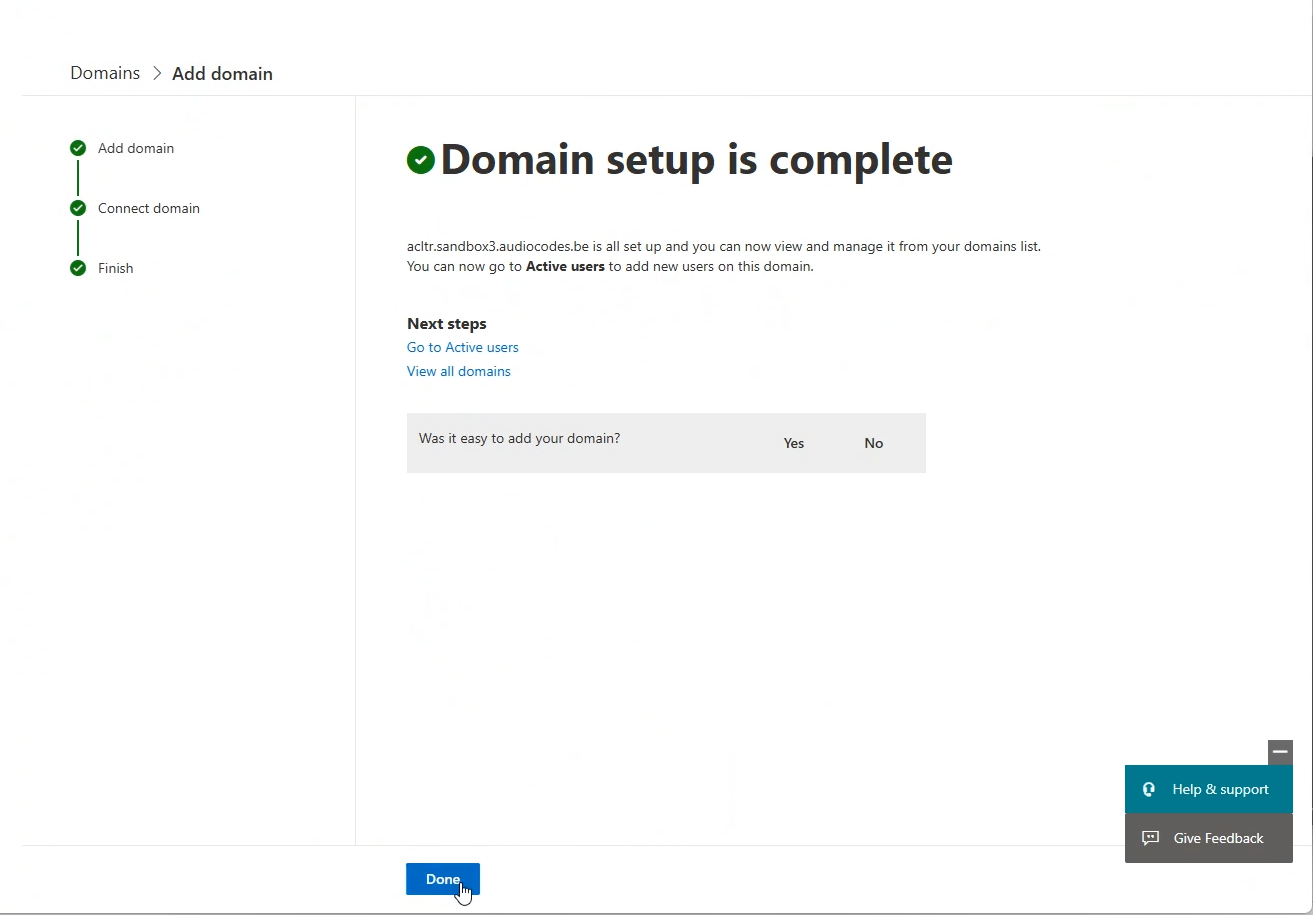
| 7. | Click Done. |

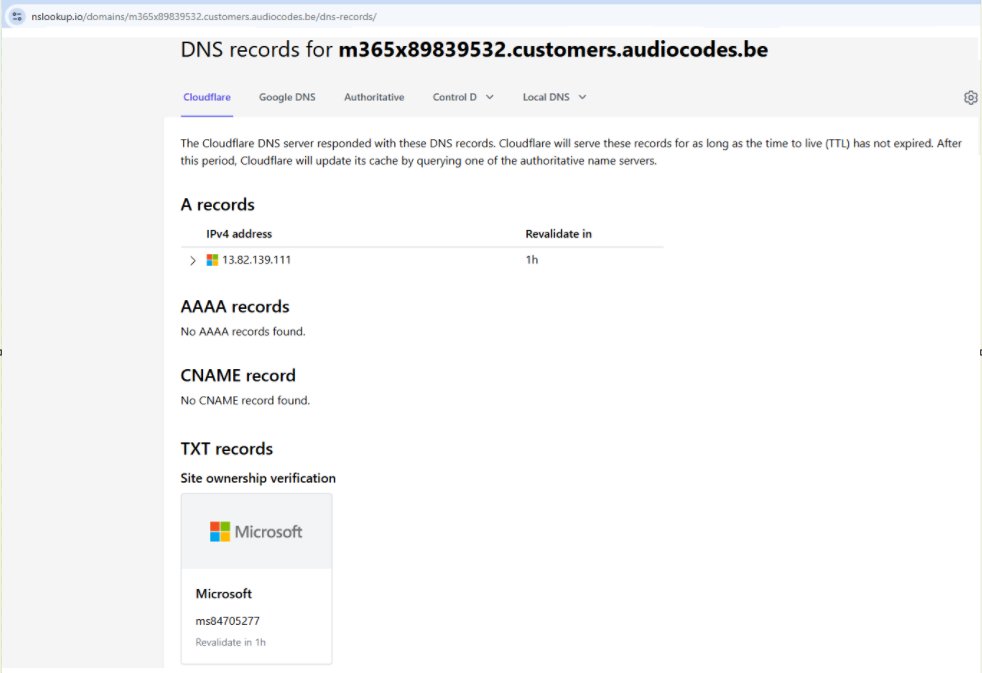
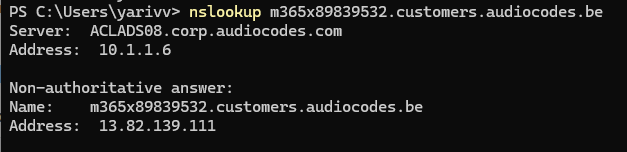
| 8. | Once you have successfully verified the domain, you can perform DNS Lookup to verify the new FQDN. Notice that it is resolved to the IP address of the SBC device configured as the Online PSTN Gateway. |